Short Video of the T-Motion upgrade kit in action.
We removed the Skid from the sled, 4 bolts... Pretty easy. Just remember to loosen Left and Right side bolts at the same time. We ended up re-tightning one side to get the other side bolt loose enough.

We thought we would go Flinstone Style :)


Ok, The skid is out. Now we started comparing parts. and disassembling the arms.

The only difference in geometry is with the rising rate motion arm and throttle rods. You can see in this picture that the arm in the foreground is longer and at a different angle. It is the old system. The T-Motion's arm is in the background. It is shorter and both the shock and the Throttle rods mount to the same pivot point. This causes a drastic change in the rising rate of the sled. It is said that it will get on top of the snow easier, and won't trench.
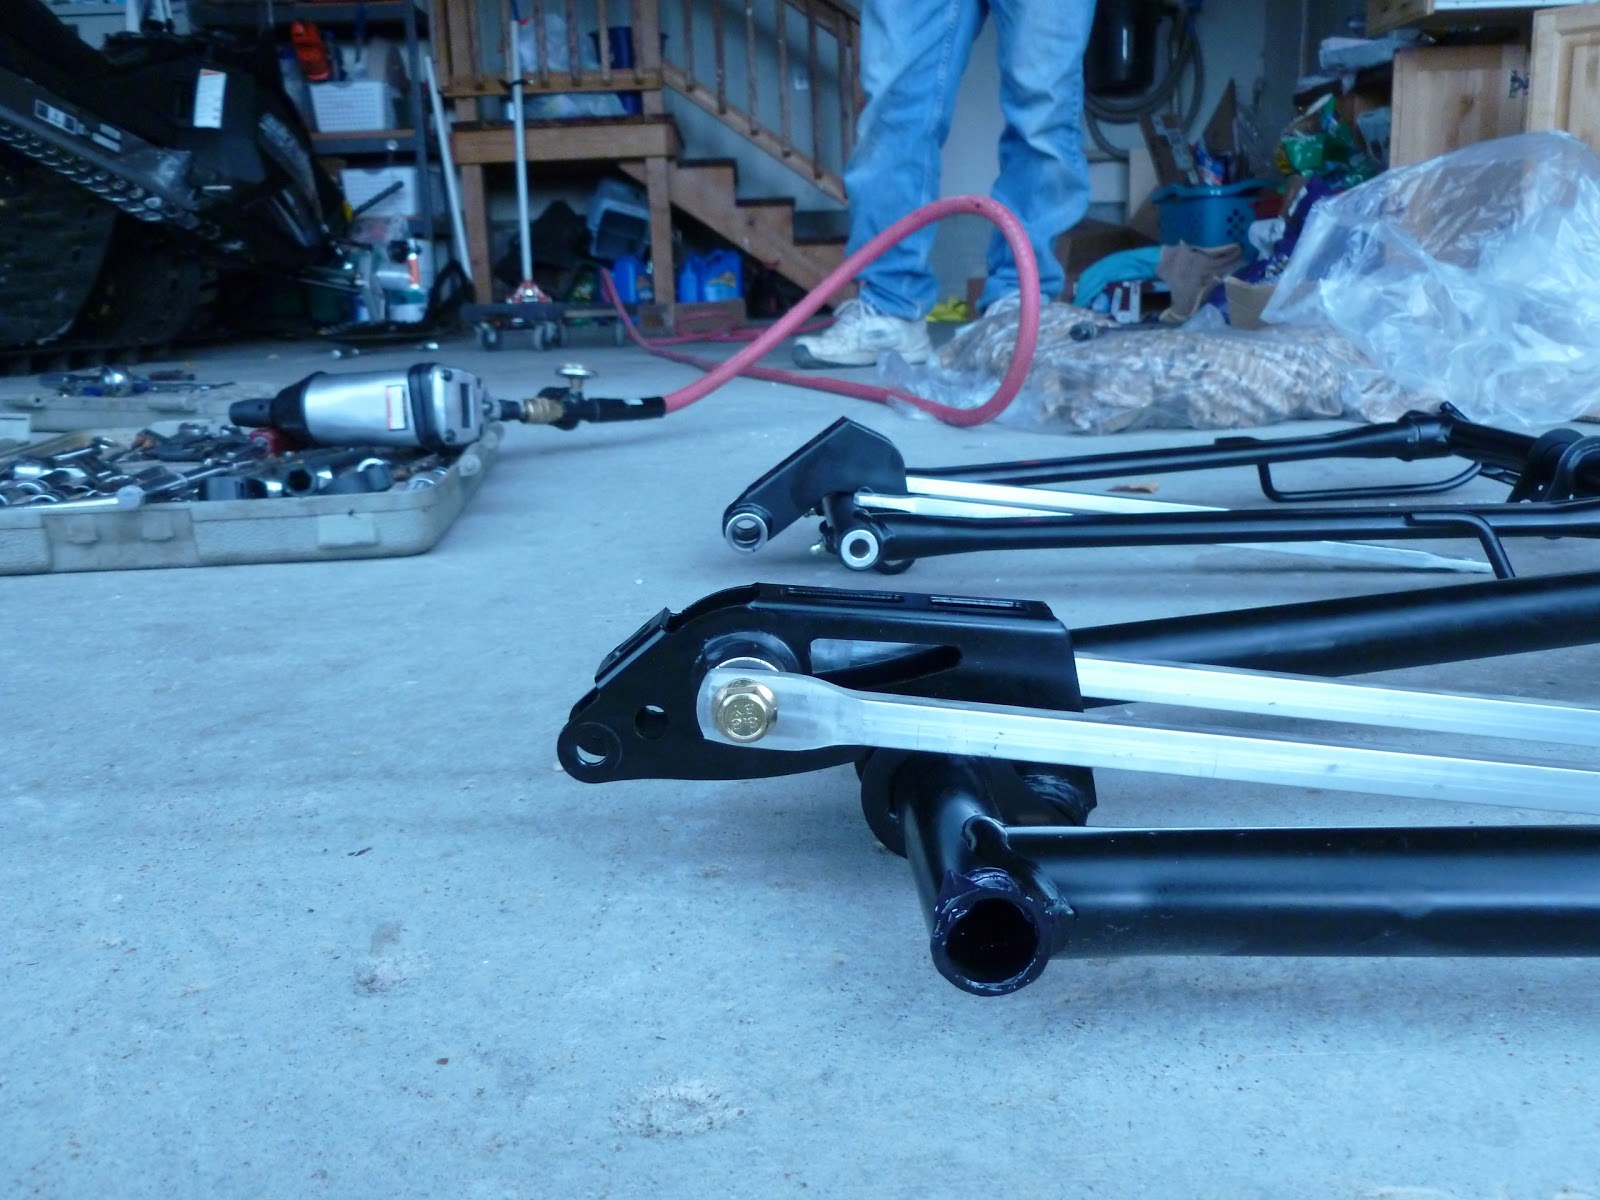
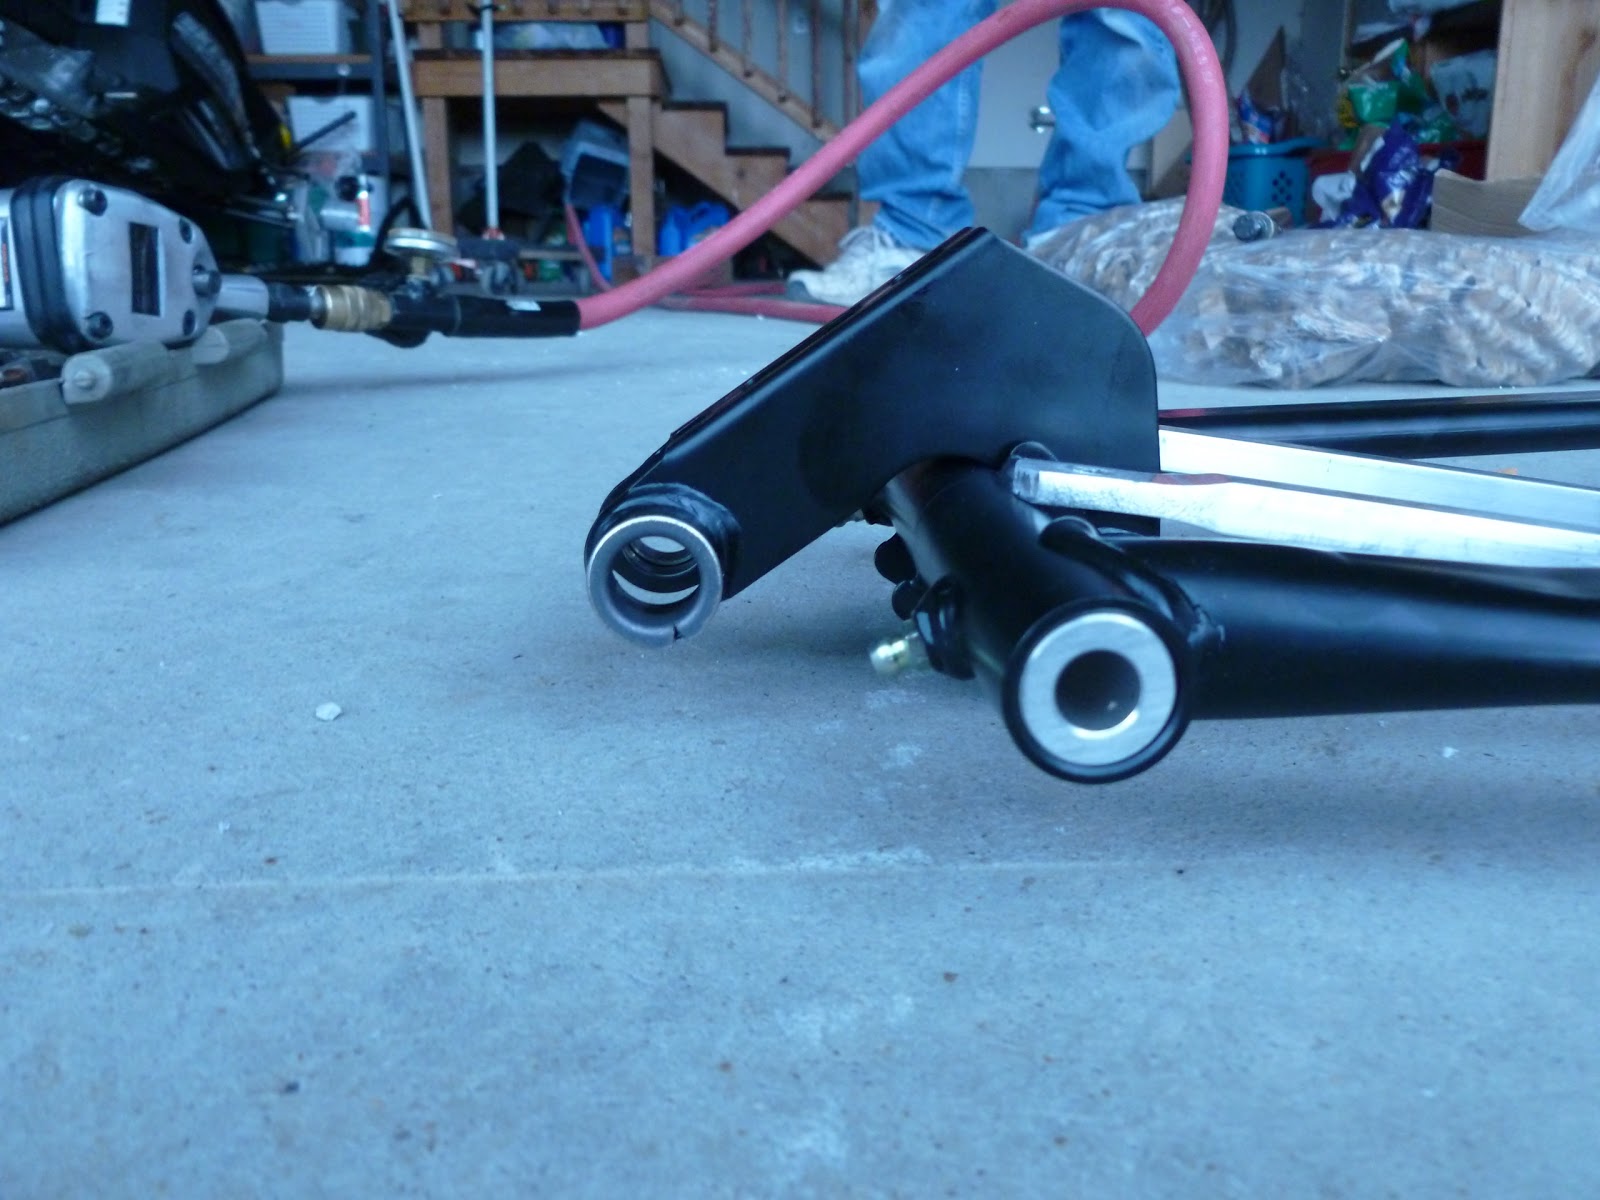
Throttle Rods and the Shock get mounted to the arm at the same location. The older setup had the shock mount at the end of the Arm and the Throttle Rods mount about an inch or so up the arm. Pictured is the T-Motion Setup.
It is hard to tell in the next two picture but the T-Motion is all installed now.

Here is a line comparison of critical geometry. I had a hard time getting the pictures to line up exactly the way I wanted... But the takeaway. The mounting points are all the same, and the Arms geometry are all the same. The difference geometry wise all lies in the throttle rods and rising rate suspension arm. I hope you all have enjoyed reading the blog.


Thanks for reading,
DPS
Credit to PinNgiggle for installing this system on his 2011 Ski Doo Summit XP, and providing the pictures.
No comments:
Post a Comment